Getting Started with Your Deriv Journey
So, you’ve finally decided to dive into the world of online trading. You’ve probably heard about the flexibility of Deriv—the multipliers, the synthetic indices, and the variety of markets they offer. But before you can start withdrawing those hard-earned profits, there is one hurdle every serious trader has to clear. I’m talking about the Step-by-step Deriv account verification process.
I know, I know. “Verification” usually sounds like a tedious weekend chore involving dusty folders and scanners. But look at it this way: in 2026, the financial landscape is more complex than ever. With the rise of sophisticated cyber-attacks, these security checks aren’t just red tape. They are the digital walls protecting your money. Think of it as a one-time investment in your peace of mind. Once it’s done, you can focus entirely on your charts and strategies without worrying about a locked account at the most inconvenient moment.
When I first set up my account, I was impatient. I wanted to trade immediately. I skipped the verification until I hit a withdrawal limit, and let me tell you, trying to find a utility bill while you’re excited to cash out is not a great experience. That’s why I’ve put together this guide—to help you get it right the first time, smoothly and without the stress.
The Importance of Verifying Your Identity
Why does Deriv care so much about who you are? It’s not just curiosity. As a regulated broker, they have to follow strict KYC (Know Your Customer) and AML (Anti-Money Laundering) laws. This ensures that the platform isn’t being used for anything shady and, more importantly, that nobody else is trying to pretend to be you.
In 2026, verification levels are tiered. You might find that you can deposit a small amount and trade without full verification initially, but you’ll soon hit a ceiling. Full verification unlocks higher limits, faster withdrawals, and access to more advanced features on the MT5 platform. Plus, it establishes a layer of trust between you and the broker. If someone ever tries to hack your account, having a verified identity makes it much easier for Deriv to help you regain control.
Preparation: What You Need Before You Start
Don’t just jump into the settings page. If you start the process and realize you’re missing a document, the session might timeout, or you might get frustrated. Gather these items first. In 2026, most of us have digital versions of our documents, which is perfect.
1. Proof of Identity (POI)
This needs to be a government-issued document. Deriv is usually looking for:
- A valid Passport (the gold standard for quick approval).
- A National Identity Card (front and back).
- A Driver’s License (front and back).
- In some regions, specific digital ID cards are now accepted.
The key here is clarity. The edges of the document must be visible, and your name, date of birth, and the document’s expiry date must be crystal clear. If there’s a glare from your phone’s flash on the plastic surface of your ID, it’s going to get rejected by the automated system. Try taking the photo in natural light near a window.
2. Proof of Address (POA)
This is where most people trip up. Deriv needs to see where you live. This document must be recent—usually not older than six months. In 2026, the standard is often moving toward three months for higher security. Accepted documents include:
- Bank statements (PDF exports from your banking app are usually great).
- Utility bills (Electricity, water, gas, or landline phone—mobile phone bills are often rejected).
- Government-issued letters or tax statements.
- Lease agreements (though these can be trickier and may require manual review).
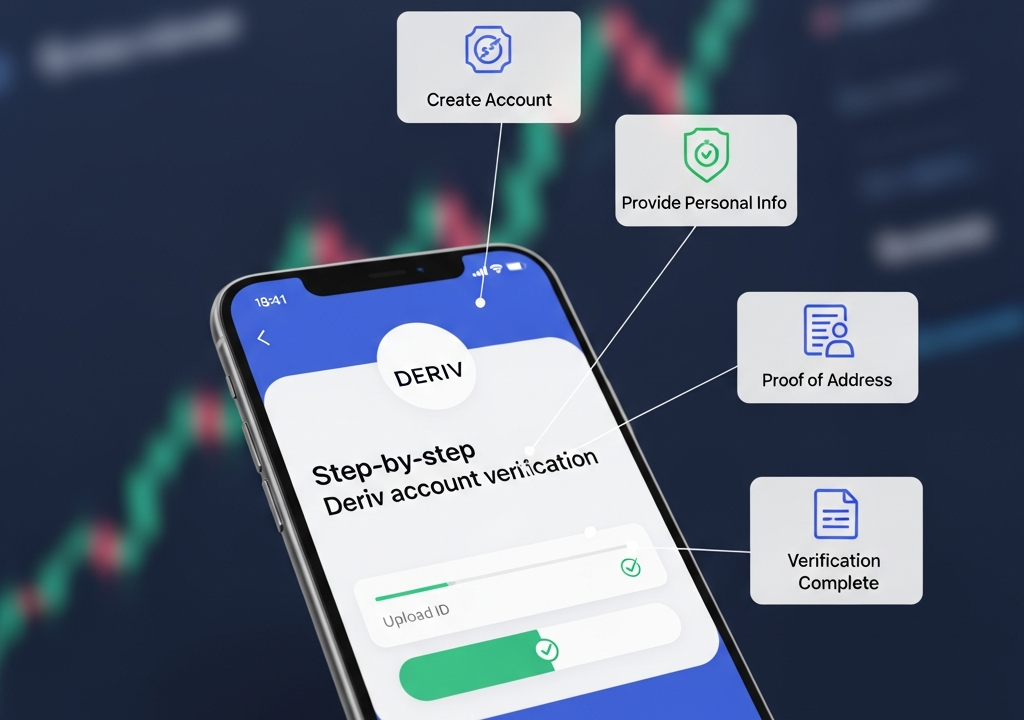
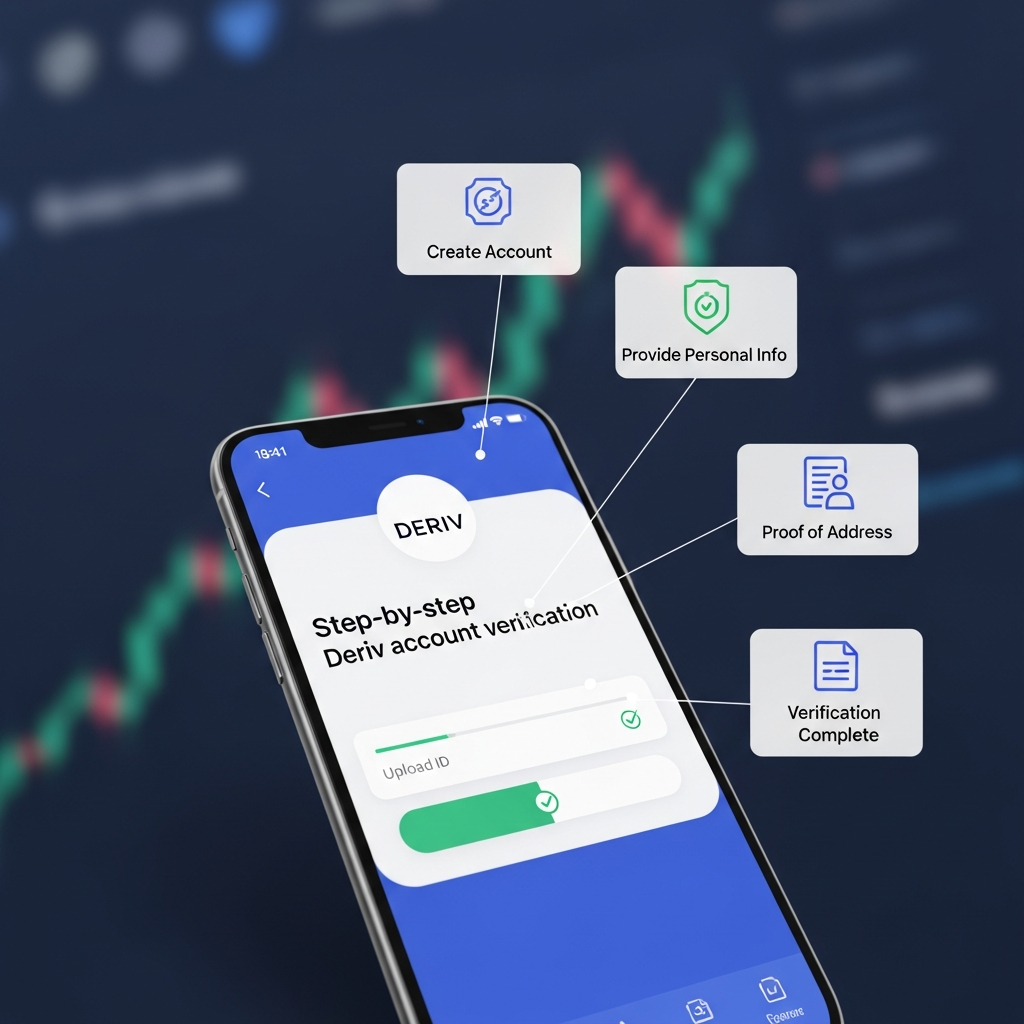
The Step-by-step Deriv Account Verification Walkthrough
Now that you have your documents ready, let’s go through the process. I’ll break this down as if we’re doing it together on your screen right now.
Step 1: Accessing the Verification Menu
Log into your Deriv account. Whether you are using the web interface or the mobile app, look for the ‘Manage Account’ or ‘Settings’ icon. Usually, it’s a small avatar or a gear icon in the top right corner. Once you click that, look for a tab labeled “Proof of Identity” or “Account Verification.”
Step 2: Submitting Your Identity Document
When you click on the identity section, Deriv will ask you to select the country that issued your ID. After that, you’ll choose the type of document (Passport, ID Card, etc.).
If you are on your phone, the system might ask for permission to use your camera. This is the fastest way. You just align your ID within the frame on the screen, and it snaps a photo automatically. If you’re on a desktop, you’ll likely upload a saved file. Make sure the file format is JPEG, PNG, or PDF and the size isn’t too large (usually under 5MB or 8MB).
Step 3: The Liveness Check (The 2026 Standard)
A few years ago, this wasn’t as common, but in 2026, Deriv often uses biometric “liveness” checks. You’ll be asked to look into your front-facing camera and move your head in a circle or blink. This proves you are a real person and not someone holding up a photo of a stolen ID. It takes about 10 seconds. My tip: don’t do this in a dark room. Turn on a light so the AI can see your facial features clearly.
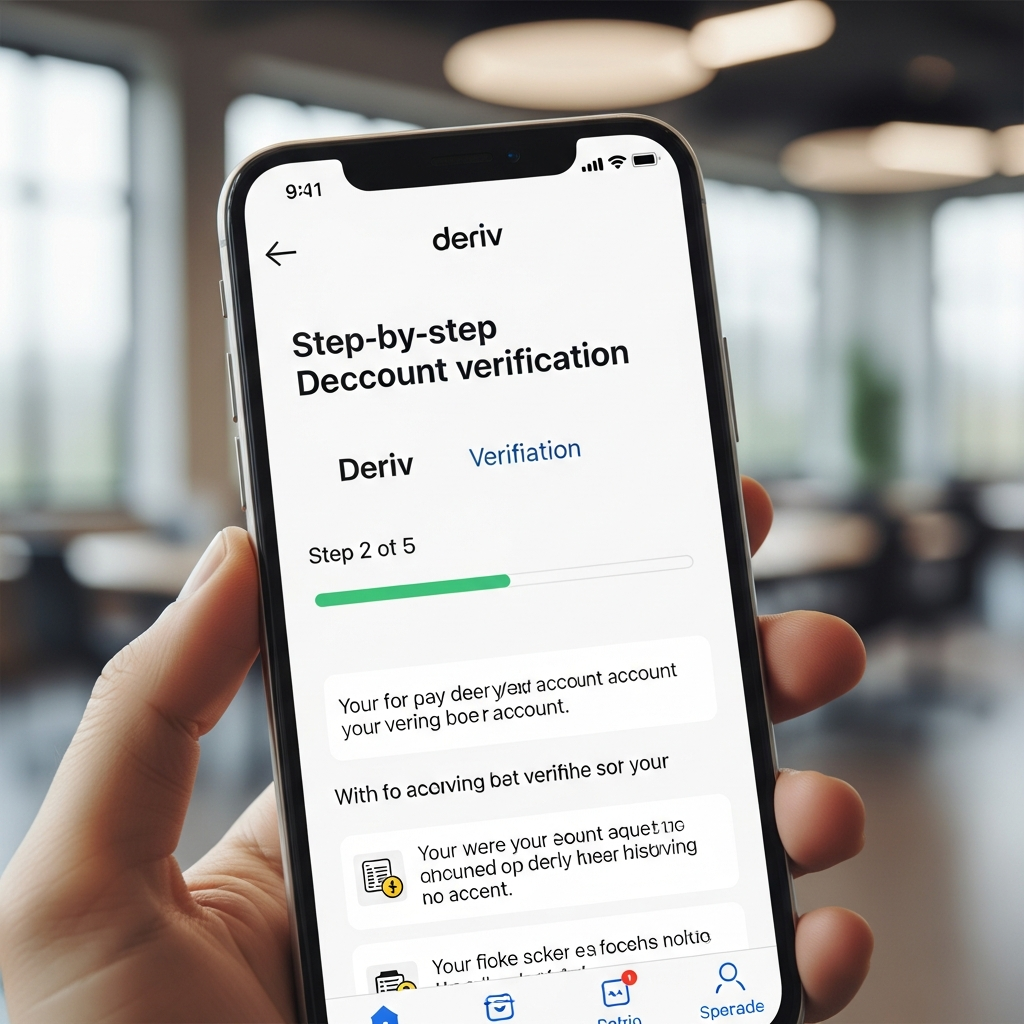
Step 4: Submitting Proof of Address
Once your ID is submitted, the system will move to the Proof of Address. Upload your document here. Remember, the name and address on this document must match exactly with the details you entered when you signed up for Deriv. If you signed up as “Alex Smith” but your utility bill says “Alexander Smith,” you might face a delay. It’s better to update your personal details in the Deriv settings to match your documents *before* you upload them.
Step 5: The Waiting Game
After clicking submit, your documents go into a queue. In the past, this could take days. In 2026, thanks to improved automated verification, many accounts are verified within minutes or a couple of hours. However, if the system flags something for manual review, it might take 24 to 48 hours. Don’t panic. You’ll get an email notification once the status changes.
Common Mistakes to Avoid
I’ve seen a lot of friends get their verification rejected, and it’s almost always because of small, avoidable errors. Let’s make sure you don’t fall into those traps.
Expired Documents
It sounds obvious, but you’d be surprised how many people try to use a driver’s license that expired last month. Deriv’s system will flag the date instantly. Check your dates before you upload.
Blurry Photos or Cut Corners
The automated AI used for Step-by-step Deriv account verification needs to see all four corners of the document. If you’re holding the ID and your thumb is covering part of the text, or if the edge of the paper is cropped out of the frame, the system will likely auto-reject it. Lay the document flat on a dark, non-reflective surface for the best results.
Mobile Phone Bills
For some reason, mobile phone bills are the most commonly submitted and the most commonly rejected Proof of Address documents. They are too easy to forge or change. Stick to bank statements or fixed utility bills like water or electricity. If you don’t have those in your name (maybe you’re renting a room), you can often use a bank statement—most banks allow you to update your address in their app and then download a fresh PDF statement immediately.
The Name Mismatch
If you used a nickname when registering, go back and change it to your legal name. If your ID says “Robert” and your account says “Bobby,” the system won’t verify you. These details need to be a 100% match.
What if Your Verification is Rejected?
If you get that dreaded “Verification Failed” email, don’t get discouraged. Deriv usually provides a reason. Read the email carefully. Is it because the photo was blurry? Was the document too old? Usually, the solution is simply taking a better photo or finding a more recent bill.
If you’ve tried a couple of times and it’s still not working, reach out to their live chat support. In 2026, their support bots are actually quite helpful at identifying specific issues with your upload, and they can escalate it to a human if there’s a unique situation (like living in a country where standard utility bills are hard to come by).
Life After Verification: Why It’s Worth It
Once you see that green “Verified” badge next to your profile, the experience changes. You can move larger sums of money in and out of your account. You can use P2P (Peer-to-Peer) trading features more effectively, which is a huge benefit in many regions where traditional banking might be slow. You also get access to higher leverage on certain instruments, as the broker now views you as a legitimate, verified client.
Verification also adds an extra layer of protection if you ever need to use Deriv’s dispute resolution. Because your identity is confirmed, there’s no question about who owns the funds in the account. It’s a professional standard for a professional trader.
Final Tips for a Smooth Experience
Before we wrap this up, here are a few “pro-level” tips I’ve picked up over the years. First, keep a dedicated folder on your phone or computer with high-quality scans of your ID and a recent bank statement. Update this every three months. This way, if you ever need to verify a new payment method or a second account, you’re ready to go in seconds.
Second, stay consistent. Use the same email address and the same spelling of your name across all your financial accounts—your bank, your e-wallets, and your broker. This creates a “digital trail” that makes automated verification systems much happier.
Finally, keep an eye on your email. Occasionally, every few years, brokers might ask for an updated document to keep their records fresh. It’s a standard part of staying compliant in 2026. Don’t ignore those emails; keeping your account updated ensures you never lose access to the markets.
You’ve got the knowledge now. The Step-by-step Deriv account verification isn’t a wall; it’s a doorway. Once you step through it, the full power of the platform is at your fingertips. Take those photos, upload those docs, and let’s get back to what really matters: finding the next big trade.